Gladio Mori Muscles, Arteries & Vitals Reference
A practical targeting sheet for physics fights without health bars.
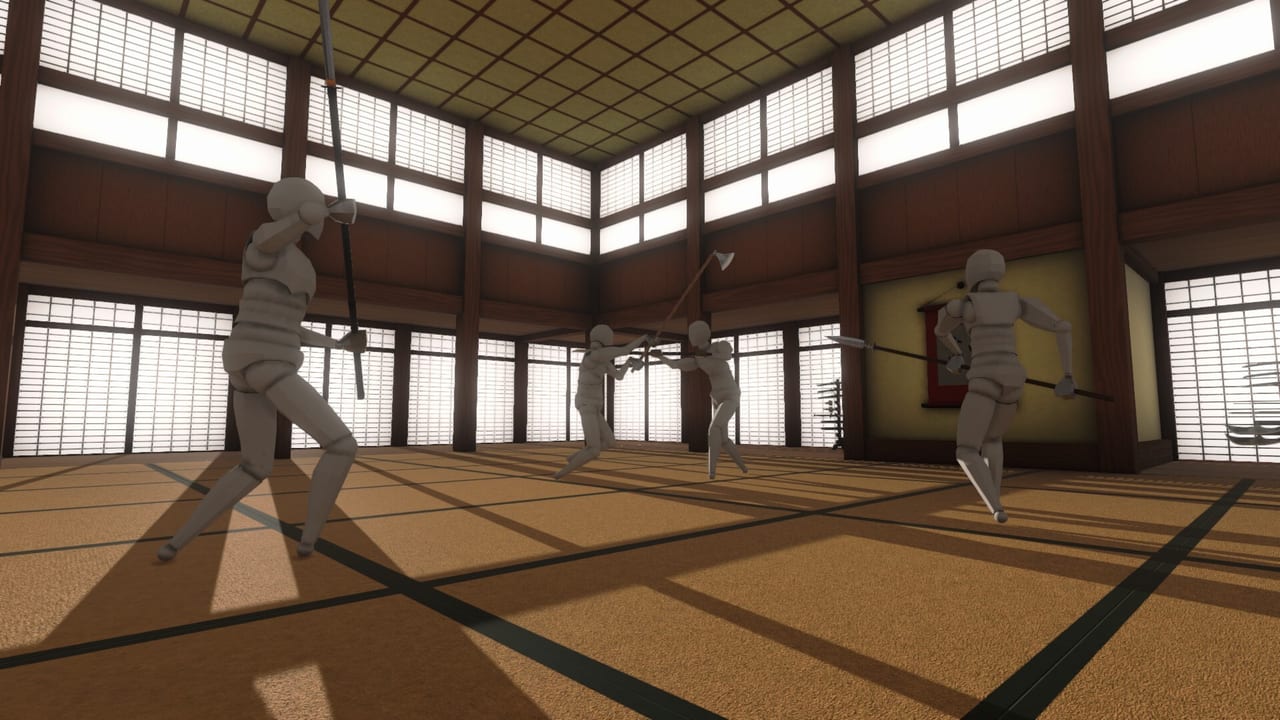
Gladio Mori removes the comfort of a depleting red bar. Fights end because muscles fail, arteries empty the body, or vitals take a decisive hit. This damage reference is the quick sheet you keep open while training—pair it with the full damage system guide for narrative depth, and with weapons / armor when choosing tools that can actually reach those targets.
The three damage layers
Muscles
Muscle damage weakens the body part you hit. Arm trauma ruins swings and binds. Core and hip damage wreck posture and locomotion. Leg trauma steals footwork until you are limping or crawling. Muscles are the “softening” layer: they rarely end a duel alone at long range, but they set up the finish by making the opponent late to every parry.
Aim priorities
- Sword-arm and shoulder lines to interrupt offense
- Thighs and calves to pin a rusher
- Waist / hip to collapse stance before a throw or follow-up thrust
Arteries
Arterial damage creates meaningful bleed. Time-to-death depends on which vessel you opened and how many bleeds are stacking. Neck trauma is famously unforgiving; limb arteries can still win if you disengage and let the clock work. This is why tip control on Spear, Rapier, and Gladius climbs the weapons tier list.
Aim priorities
- Neck / carotid lanes
- Inner thigh
- Upper arm / armpit approaches when plate covers the torso
Vitals
Vitals are the instant-or-near-instant endings: brain, heart, major vessels in the trunk, spine, and other organ-critical hits the game treats as fight-ending. You do not “chip” a vital the way you chip a health bar—you either earned the angle or you did not.
Aim priorities
- Head / face gaps in the helm
- Center chest when plate is open or absent
- Deep thrusts after a bind creates a lane
For a longer walkthrough of bleed timing, dismemberment, and blunt bruise behavior, read Guides → Damage System.
Plate changes the targeting map
Plate blocks many cuts. If you keep slashing a breastplate, you are practicing bad habits. Against armored fighters:
- Hunt gaps (visor, neck, armpit, groin, back of knee).
- Switch to thrust profiles (Rapier, Spear, spikes).
- Bring blunt faces (Lucerne, Mallet, Kanabo, Pollaxe hammer side) to make armor expensive.
- Consider dismemberment routes—hands and arms still come off, and a disarmed plate turtle is just slow meat.
Cross-check armor builds so you know which “tank” kits still leave a thigh or throat gift.
Weapon class → target preference
| Class | Best first target | Notes |
|---|---|---|
| Spears / polearms | Arteries at range, then vitals | Win with measure; do not panic-rush |
| Rapiers / short thrust blades | Vitals and neck | High precision, low forgiveness |
| Cut-focused swords / falx / katana | Muscles → arteries on light armor | Struggle vs sealed plate without gaps |
| Axes / bardiche / daneaxe | Limbs and unarmored torso | Great softeners; need plan vs plate |
| Blunt / spike hybrids | Armor pressure, then finish | Meta answer to turtle lobbies |
| Daggers / katar / unarmed | Close muscle control → short thrust finish | Only after you earned the clinch |
Bleed management (attacker and defender)
As attacker: after a clean artery hit, you often should not greed another stupid trade. Create distance, threaten with tip, and let bleed do work—especially in 1v1. In free-for-alls, finishing faster can still be correct if a third player is arriving.
As defender: treat arterial spray as a shot clock. Reset with space, go for a reciprocal vital, or force a disarm. Ignoring bleed to “win the animation” is how highlight reels of your death get shared on Discord.
Dismemberment and functional death
Hands, arms, and legs can go away. That is not cosmetic. Lose the weapon hand and your moveset output collapses. Lose a support leg and measure becomes fantasy. Sometimes the correct “damage” target is the limb that powers their best swing—not the heart on the first exchange.
Training drill (10 minutes)
- Spawn a lightly armored bot or friend.
- Spend three minutes landing only muscle hits on the sword arm.
- Spend three minutes hunting artery lanes without taking a trade.
- Spend four minutes attempting vital finishes after a bind.
- Watch the replay with free camera; note every miss that hit plate instead of a gap.
Repeat the drill in partial plate, then near-full plate. Your aim map should change every time.
Related pages
- Damage system guide — deeper explanation
- Tools Hub — other references
- System requirements — keep frame time stable so aim stays honest
- 1.0 launch overview — what shipped in the organ-damage fantasy at full release
Master anatomy first. Fancy community movesets on the Players Hub are multipliers, not replacements, for knowing where the body ends the fight.
Frequently Asked Questions
Quick answers to the most common Gladio Mori questions.
Why is there no health bar in Gladio Mori?
Damage is tracked through muscles, arteries, and vitals. The fight ends when the body fails—bleed-out, structural disable, or a vital strike—not when a numeric bar hits zero.
What should I aim for first as a beginner?
Practice muscle hits to slow an opponent, then graduate to artery lanes (neck and thigh). Attempt vital finishes once you can create a clean angle after a bind.
How do I damage someone in full plate?
Target gaps with thrusts, use blunt or spike weapons, or remove limbs. Repeated slashes on solid plate are usually wasted.
Where can I learn more than this cheat sheet?
Read the full damage system guide for mechanics context, then apply the lessons in campaign and custom lobbies.